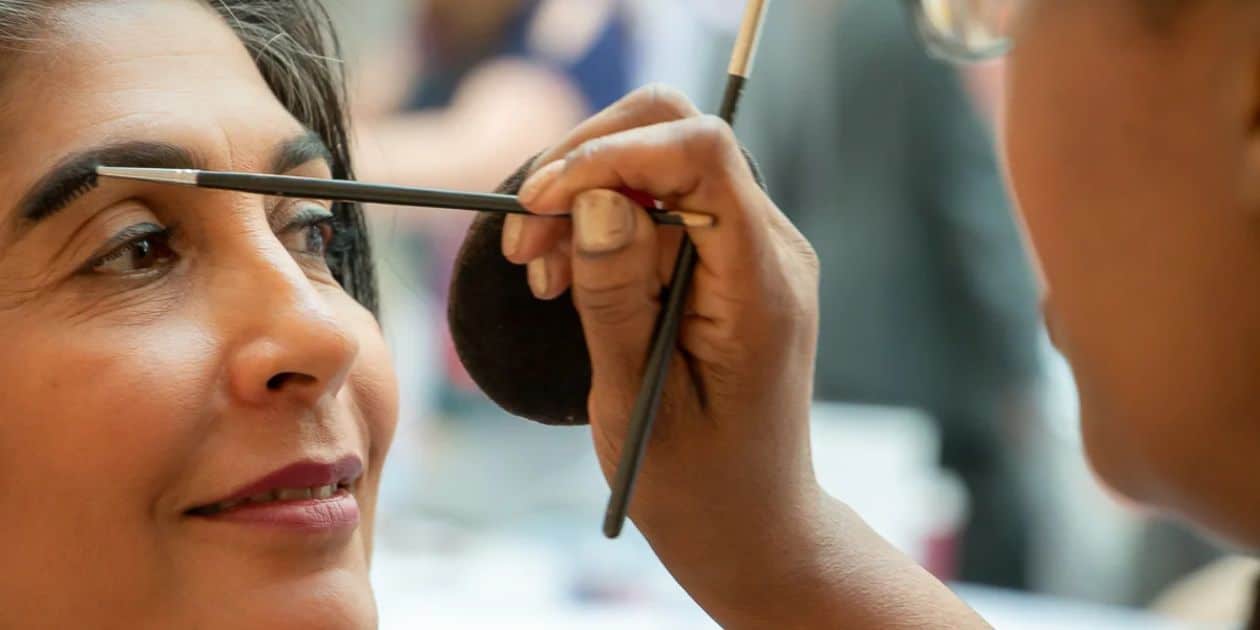
Do you have questions about how to look your best in headshots? In that case, you should know how to do makeup for headshots.
Makeup for headshots differs significantly from makeup for most other types of photography (modeling, fashion, etc.). Additionally, it differs significantly from cosmetics applied in real life. This article will cover all you need to know about doing your headshot makeup.
How to do makeup for a headshot
The following is a comprehensive guide for makeup artists to do makeup for a headshot:
- Foundation
Applying makeup to skin that is clean, even, and well-moisturized is always recommended. So try to prepare ahead and start moisturizing your face more often than usual, at least three to five days before your photo shoot. Drink a lot of water. Hydrated skin always looks best (regardless of how much foundation or makeup you use).
As you apply your foundation, remember to:
- Coordinate the hue of your foundation with the skin tone of your neck and chest. Choosing a color that is a little bit darker than your natural skin tone may be acceptable for social situations. It can frequently be distracting in headshots because the darker color of your face will be very noticeable compared to your neck and chest. It is due to the way camera lighting works. It’s simpler for the photographer to alter the image’s overall color during digital retouching if you want your skin to appear tanner in your shot than in real life rather than attempting to correct a mismatched face or neck.
- Both liquid and powder foundations are equally effective. Although oil-free liquid matte foundations with water or alcohol bases usually perform the best. You don’t necessarily need a liquid foundation if you have little expertise. Use a foundation type you are most at ease with because it can dry rapidly. Moreover, it seems caked if applied poorly.
- Steer clear of foundation/highlighters that are “sheer,” “glowy,” or “dewy.” These items can make you look younger and more radiant in person. But, they will make you appear sweaty or “wet” in photographs, especially when exposed to harsh studio lighting. The best foundation to use is matte.
- Even if you’ve hired a makeup artist for your headshots, you should still use a light toner. It will aid in pore closure on the face, facilitating a smoother makeup application (which looks better in photos).
- Think about using a primer if you have a lot of freckles and laugh lines. Even if you appreciate your freckles or lines, primers can help soften them. It is because cameras frequently make them look harsher than they are. Applying makeup will be more straightforward overall, with smoother skin.
- Apply concealer liberally compared to usual. Make sure to conceal under-eye shadows, blemishes, and redness on the face with more concealer after applying foundation. It is because bright studio lights can see right through most foundations. Moreover, it exposes imperfections and darkness under the eyes that you thought were hidden.
- Steer clear of foundations containing sunscreen. Under harsh camera lighting, sunscreen foundations can subtly alter the color of your face and make you appear perspirant or glossy.
Always remember that the foundation’s primary goal is to balance your skin tone and provide an excellent foundation for the rest of your makeup. Keep things simple, don’t overdo it, and you’ll be OK. Hence, this is how to do makeup for professional headshots.
- Lips
In headshots, is lipstick acceptable? Yes, but when it comes to lips, the same advice that applies to foundation also applies. The following is how to do your makeup for headshots.
- You should wear your lip color one shade darker than you usually do. If you want your headshot makeup to look exactly like your makeup in real life, you’ll need a little darker lip color due to how digital cameras operate.
- Stay away from bold lip hues and lines. Intense lip colors might bleed into the fine lines around the lips even if you wear them in real life. Thus, they necessitate photo editing. It is therefore recommended to stay away from them whenever feasible. A lightly tinted lip gloss may be a good option if you only frequently wear a little lipstick. Also, bear in mind that anything shiny will look bad on camera. Remember to examine your teeth. During the shot, the photographer might not notice that some lipstick has gotten on your teeth. Check yourself in the mirror a few times throughout the shoot to ensure your teeth are clean.
- Use only natural lip balm on males. If you have cracked lips, start consistently using lip balm at least 3–4 days before the shot so that your lips will still look beautiful on the day of the shoot.
- Do you want to make your lips appear fuller? Avoid going past the edges with lipstick or gloss. The camera quickly picks it up, and as it nearly always appears unnatural, it may need to be corrected. Your lips always seem best in photos when they are their natural size.
- Eye Makeup for Headshots
Here are a few more pointers on how to do makeup for a professional headshot. You should remember them when it comes to headshot makeup for your eyes, in addition to applying own makeup mainly in the same manner as you would in everyday life:
- Trim your brows a few days beforehand. It is incredibly challenging to reshape eyebrows when retouching. Moreover, if you don’t do it far enough in advance, your eyebrows may appear red (which is even more challenging to fix in retouching).
- Remember to fill in your brows. Because the camera will pick up more flaws than you would in a standard bathroom mirror. Thus, take a handheld mirror to a window to observe how your eyebrows seem in natural light.
- Use black mascara whenever possible. Brown typically reads poorly on video. Even if you don’t often wear mascara daily, it can be helpful in headshots because it flatteringly draws attention to the eyes.
- Steer clear of fake lashes (especially long ones). They always make it more challenging to see your eyes. False eyelashes can sometimes even make you appear to have been dozing off in your photographs (eyes half closed).
- Topliner is preferable to underlined eyes. It’s usually preferable to use liner only on the top unless you always make your eyes black. An under-eye liner can age you. Fake eyelashes can make your eyes look constricted. They also make your eyes look smaller.
- Use neutral eyeshadow. Eyeshadow looks best when it’s neutral or neutral-nude. But if you want to add color, apply it later in your session (if you’re shooting many looks) because it’s simpler to add color than to take it away. Additionally, avoid using shimmery makeup; instead, use matte.
- Blush
For your best appearance in person, apply blush one shade or a notch darker than what you typically use.
Apply it properly by spreading a wide circle, creating increasingly smaller and concentric rings. By using this method, you can guarantee that the blush’s edges are progressive and natural-looking.
Remember that since blush is quite challenging to remove once applied, it’s always better to start softly and add more (without having to reapply too much makeup).
- Powder
Start your shoot by liberally dusting on powder to create the most matte finish on your skin. It is because looking shiny in headshots is not flattering at all. Afterward, add more powder during your shot, perhaps every 10 to 20 minutes. Ask the photographer to show you images to determine whether you need to add extra colorless translucent powder.
Hair
Generally speaking, the best hairstyle is one you can wear every day. Avoid styling your hair in a way you’re not accustomed to or at ease with since you want to appear the same in your headshot as you do when you meet people in person. Otherwise, you can end up disliking your photos in the future.
Here are some recommendations for how to do hair and makeup for headshots:
- To keep your hair in place, use hairspray or gel. Your hair will start to grow messier and messier as you move about during the shoot, so putting some product to keep it in place is a good idea.
- Make use of shine-enhancing cosmetics (without making your hair look wet). Avoid mattifying products since they will make your hair look lifeless and dull. It is because the shine is great for hair. Instead, choose products that enhance shine so that light reflects and adds energy and volume to your hair. A fantastic alternative is a bio silk spray. Avoid using powerful gels that could make your hair appear moist under studio lighting and shine excessively.
- A light blowout might give you more volume for a photo shoot if you have long hair. However, a blowout might rapidly appear flat depending on the weather. Choose an indoor shoot on muggy or rainy days, and ask the photographer if you may arrive early to touch up your hair before the shoot begins.
- Because it might occasionally be challenging to determine the length of your hair, avoid tying it up in a bun or ponytail. You might not be able to see the ponytail behind your head in photographs, making it appear as though your hair is very short.
- For facial hair, wear it the way you usually would. You might think about two separate looks if you’re an actor: one with some facial hair and one with a clean-shaven appearance. Use an electric razor for clean-shaven shots, or attempt to shave at least six hours before the shoot (or the night before) to avoid having a red face in your pictures.
- Make sure you have a brush, comb, and hairspray with you. Your hair will likely become untidy on the way to the studio (or while the session takes place). Some studio photographers may need to have combs or brushes on hand. Hairspray can also be required to counteract the wind if your shot is outside.
- Bring your hair ties and pins if the photographer doesn’t have any during the shoot.
Conclusion
Finally, here’s some pro advice. Ensure simplicity. If you are not a huge makeup fan, refrain from altering your appearance solely for your headshots. Your features should be discreetly enhanced, not hidden, by your headshot makeup. Hence, we have understood how to do makeup for headshots.
When someone first meets you, you want them to be able to identify you and think well of you. You should follow these tricks to ensure that your makeup for headshots is ideal and fantastic.