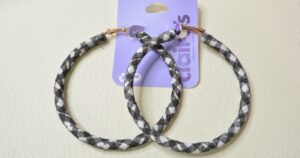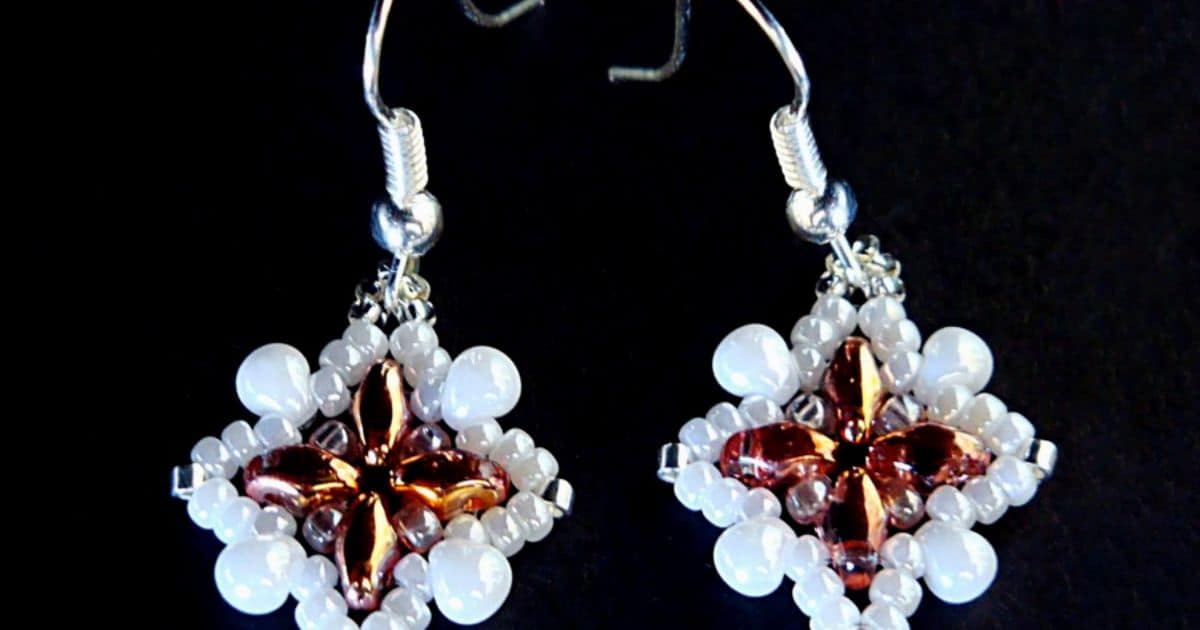
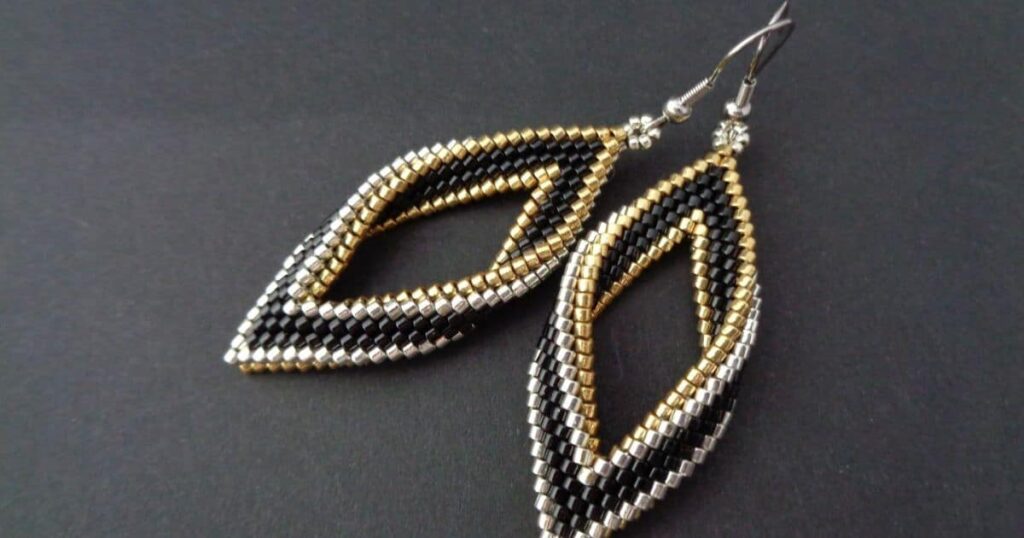
Beaded earrings are more than just accessories; they’re a reflection of your creativity and personal style. Learning how to bead earrings opens up a world of possibilities, allowing you to express yourself through unique and handmade jewelry. In this guide, we’ll take you through the essential steps to create stunning beaded earrings that will not only complement your outfits but also showcase your artistic flair.
Getting Started with Beaded Earrings Crafting
Embark on your creative journey by exploring the world of beaded earrings crafting. Gather vibrant beads, tools, and inspiration. Learn fundamental techniques, experiment with designs, and craft personalized accessories that reflect your unique style. Get started on your beading adventure today!
Understanding Your Materials
Before diving into the world of beading, it’s crucial to familiarize yourself with the materials you’ll be working with. Gather high-quality beads, beading wire, earwires, and any additional embellishments you might want to incorporate into your designs. Choose beads that match your aesthetic and consider experimenting with different colors, sizes, and textures for a diverse collection.
Essential Tools for Beading
To ensure a smooth crafting process, invest in the right tools. Needle-nose pliers, wire cutters, and round-nose pliers are must-haves. These tools will help you manipulate wires, secure beads, and create intricate designs with precision.
Basic Techniques for Beading Earrings
Mastering basic techniques for beading earrings is essential for crafting stunning jewelry. Learn fundamental skills such as threading beads, making simple loops, and attaching findings. Elevate your creations with precision and creativity, laying the foundation for more intricate designs.
Simple Stringing Technique
Start with the basics by mastering the simple stringing technique. Thread your chosen beads onto the beading wire, securing the ends with crimp beads. Experiment with bead patterns to create visually appealing designs. This technique is ideal for beginners and offers endless possibilities for customization.
Wire Wrapping for Elegance
Take your beading skills to the next level by incorporating wire wrapping. This technique involves creating loops and wraps with wire to connect beads and form intricate designs. Experiment with different wire gauges and colors to add depth and dimension to your earrings.
How to Bead Earrings with String
Beaded earrings crafted with string offer a versatile and creative way to express your personal style. To begin, gather your favorite beads, a needle, and a durable string material such as nylon or silk. Follow these steps:
- Choose Your Beads: Select beads that complement each other in color, size, and texture. This is your opportunity to experiment with different combinations.
- Prepare the String: Cut a suitable length of string, ensuring it’s long enough for both earrings. Thread the needle, creating a double-strand for added strength.
- Design Layout: Plan your bead layout before threading. This ensures a symmetrical and visually appealing design. Consider using a bead board to arrange your beads precisely.
- Start Beading: Begin threading the beads onto the string, following your design. Pay attention to the pattern and spacing between beads. Knot the ends securely when you finish.
- Attach Earring Hooks: Add earring hooks to the looped end of the beaded string. Ensure they are securely attached, and your beaded earrings are ready to showcase your creativity!
How to Bead Earrings with Beads
Creating earrings with beads involves more than just stringing them together. Here’s a basic guide to get you started:
- Gather Your Materials: Collect a variety of beads, earring hooks, and other jewelry-making essentials. Consider using beads of different shapes, sizes, and colors for a unique look.
- Design Your Earrings: Sketch out your design on paper before starting. This helps you visualize the final product and make any necessary adjustments.
- String the Beads: Thread your chosen beads onto a flexible wire or string, following your design. Experiment with different bead arrangements to find the most appealing pattern.
- Secure the Ends: Once your beads are in place, secure the ends by tying a knot or using crimp beads. This ensures your beads stay in position and your earrings maintain their shape.
- Attach Earring Hooks: Add earring hooks or posts to complete your earrings. Make sure they are attached securely, and your beaded earrings are now ready to be worn with pride.
How to Bead Earrings Native American
Native American beadwork is rich in tradition and symbolism. If you’re interested in creating Native American-inspired earrings, follow these steps:
- Respect Cultural Traditions: Be mindful of the cultural significance of Native American beadwork. Research specific tribes and their beadwork traditions to ensure respectful and accurate representation.
- Choose Authentic Materials: Traditional Native American beadwork often involves the use of natural materials like bone, shell, and seed beads. Choose authentic materials to stay true to the craft.
- Study Traditional Patterns: Native American beadwork is known for its intricate patterns and geometric designs. Study traditional patterns and motifs, and incorporate them into your earrings for an authentic touch.
- Use Earthy Colors: Native American beadwork often features earthy tones and natural colors. Choose a color palette that reflects the natural world for an authentic look.
- Incorporate Symbolism: Many Native American beadwork designs carry symbolic meanings. Consider incorporating symbols that hold significance to the culture you are drawing inspiration from.
How to Make Seed Bead Earrings for Beginners

If you’re new to beadwork, making seed bead earrings is a fantastic way to start. Here’s a beginner-friendly guide:
- Gather Basic Supplies: Collect seed beads, beading wire or thread, a beading needle, and earring findings. Choose larger seed beads for easier handling.
- Choose a Simple Design: Start with a straightforward design that doesn’t involve intricate patterns. Simple loops or basic dangles are ideal for beginners.
- Practice Beading Techniques: Familiarize yourself with basic beading techniques, such as threading beads, making simple loops, and attaching findings. Practice these techniques before starting your earrings.
- Experiment with Colors: Seed beads come in a variety of colors, allowing you to experiment with different combinations. Choose colors that appeal to you and fit your personal style.
- Take Your Time: Beading requires patience. Take your time to ensure each bead is securely in place and your design is well-executed. With practice, you’ll gain confidence and be ready to tackle more complex projects.
How to Bead Earrings on Felt
Creating beaded earrings on felt adds a unique texture and dimension to your jewelry. Follow these steps to make your own felt-backed beaded earrings:
- Prepare Your Materials: Gather felt sheets, beads, beading thread, and earring findings. Choose felt colors that complement your bead selection.
- Cut Felt Shapes: Cut out the desired shapes from the felt sheets. These will serve as the base for your beaded design. Common shapes include circles, squares, or even more intricate designs.
- Plan Your Beading Design: Lay out your beads on the felt shapes, experimenting with different patterns and arrangements. This step helps you visualize the final design before committing to the beading process.
- Attach Beads to Felt: Use beading thread to secure the beads onto the felt. Make sure the beads are tightly attached to prevent any movement once the earrings are finished.
- Trim Excess Felt: Once the beads are in place, carefully trim any excess felt around the edges to create a neat and polished look.
- Add Earring Findings: Attach earring hooks or posts to the felt-backed beaded design. Ensure the findings are securely fastened, and your unique felt-backed beaded earrings are ready to be worn.
Seed Bead Earrings Patterns Free
Finding free seed bead earring patterns allows you to explore a variety of designs without breaking the bank. Follow these steps to discover and use free patterns:
- Search Online Resources: Look for reputable websites, blogs, or forums that offer free seed bead earring patterns. Many online communities share their designs with fellow beading enthusiasts.
- Download or Print Patterns: Once you find a pattern you like, download or print it for reference. Make sure the instructions are clear, and the pattern is suitable for your skill level.
- Gather Materials: Check the pattern for a list of required materials. Gather your seed beads, beading thread, needle, and any additional supplies specified in the pattern.
- Follow Step-by-Step Instructions: Carefully follow the step-by-step instructions provided in the pattern. Take your time to ensure each bead is placed correctly, following the recommended techniques.
- Personalize Your Design: While following a pattern, feel free to add your personal touch. Experiment with colors or modify certain elements to make the design uniquely yours.
Beaded Earrings Pattern
Creating beaded earrings using a specific pattern adds a level of precision and detail to your jewelry. Here’s a general guide to working with beaded earring patterns:
- Select a Pattern: Choose a beaded earring pattern that suits your style and skill level. Patterns can vary in complexity, so pick one that aligns with your current beading abilities.
- Gather Materials: Review the pattern for a list of required materials, including bead types, sizes, and colors. Ensure you have all the necessary supplies before starting.
- Understand the Instructions: Carefully read and understand the pattern instructions. Pay attention to any special techniques or unique steps that may be involved.
- Follow the Sequence: Beaded earring patterns often include a specific sequence for adding beads. Follow the sequence closely to achieve the intended design.
- Secure the Ends: Once you complete the beading according to the pattern, secure the ends to ensure the beads stay in place. This may involve knotting the thread or using crimp beads, depending on the pattern.
- Attach Earring Findings: Add the earring hooks, posts, or other findings as specified in the pattern. Make sure they are securely attached, and your beaded earrings are now ready to be worn or gifted.
Whether you’re a beginner or an experienced beader, following patterns can provide inspiration and guidance for creating beautiful and intricate beaded earrings.
Troubleshooting and Tips for Success

Navigate through challenges with our Troubleshooting and Tips for Success guide. Discover expert advice to overcome obstacles, enhance your skills, and achieve success in your endeavors. Turn setbacks into opportunities with valuable insights and practical solutions for lasting growth.
Securing Beads with Crimp Beads
One common challenge in beading is ensuring that your beads stay securely in place. Master the art of using crimp beads to prevent your earrings from unraveling. Practice proper crimping techniques to achieve a polished and professional finish.
Choosing the Right Wire
Selecting the appropriate beading wire is crucial for the durability of your earrings. Consider factors such as wire thickness and flexibility based on the weight and size of your beads. This ensures that your earrings not only look beautiful but also stand the test of time.
Finishing Touches with Earwires
Pay attention to the final details by choosing the right earwires for your earrings. Whether you prefer hooks, studs, or leverbacks, selecting the appropriate earwire style enhances the overall aesthetic and comfort of your handmade creations.
Frequently Asked Questions
How do you put beads on earrings?
Thread beads onto earring wire, securing with a loop at the end.
How do you make simple seed bead earrings?
String seed beads onto wire, create desired pattern, and finish with earring hooks.
How do you harden beaded earrings?
Bake clay or use clear adhesive to strengthen and set beaded earrings.
How do you use beading wire for earrings?
String beads onto beading wire, secure with crimps, and attach to earring findings.
Conclusion
Mastering how to bead earrings is a rewarding journey that allows you to infuse your personality into wearable art. From selecting materials and mastering essential techniques to drawing inspiration from various sources, this guide equips you with the knowledge needed to create beautiful and unique beaded earrings. So, grab your beads, tools, and let your creativity shine as you embark on the exciting world of jewelry crafting.